 ToolHub
Compress Images Without Losing Quality: 7 Rules I Use Daily
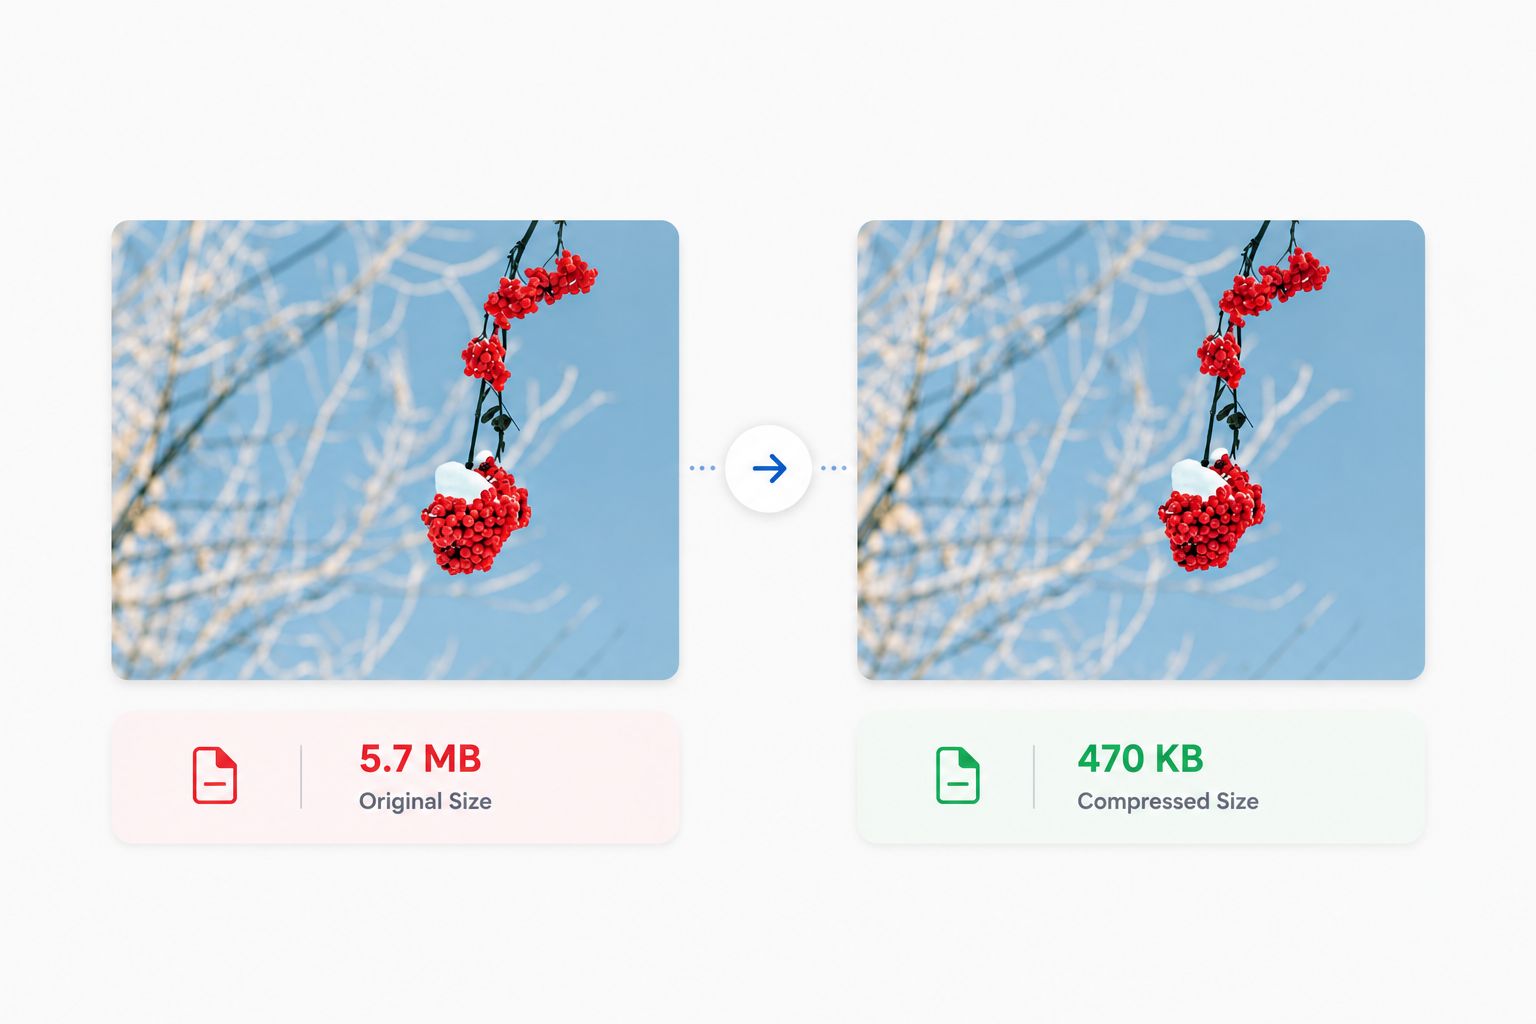
You can compress an image without losing quality by resizing it to the size it will actually be shown at, then saving it at 75 to 85 percent quality as a JPG or WebP. Done right, that shrinks most photos by 70 to 90 percent while the change stays invisible on screen. Here are the 7 rules I use every single time.
If you are working with other document conversions, the same principles apply. See our guides on JPG to PDF, merging PDFs, and PDF to Markdown.
What you will read in this article
Why I wrote this guide
A government form rejected my photo three times because the file was too heavy, and every online fixer I found asked me to upload the photo to its server first. I did not like handing a personal document to a random website, so I learned to do it myself and later built the Image Compressor that runs entirely in the browser. These 7 rules are exactly what I apply before every upload.
What compression actually does
Lossy compression removes detail your eye barely uses: tiny color shifts, faint texture, noise in smooth areas. The file gets lighter while the picture still looks the same at normal viewing size.
Two settings control the result. Dimensions decide how many pixels the file holds, and quality decides how precisely each pixel is stored. Most people change only quality and wonder why the file is still heavy. Experienced users change both, in the right order.
Technically, JPEG uses the discrete cosine transform to break image data into frequency components and then discards the details your eye notices least. WebP adds predictive filtering and better entropy coding, which is why it usually beats JPEG by 25 to 35 percent at the same visual quality.
The 7 rules that keep quality
1. Resize before you compress
Dimensions are the biggest weight in any image. A 4000 pixel photo shown at 800 pixels carries four times more data than it needs. Cut the dimensions to the display size first and the file drops dramatically with almost no visible loss. Compression then reduces the file further.
2. Stay between 75 and 85 percent quality
This is the invisible zone for screens. Below 70 percent, edges start to shimmer and blocks appear in smooth areas. Above 85 percent, you pay extra kilobytes for detail nobody can see. For most photos, 80 percent is the right setting.
3. Pick the right format
| Format | Best for | Avoid when |
|---|---|---|
| WebP | Websites, smallest size | A form only accepts JPG |
| JPG | Photos, forms, compatibility | You need transparency |
| PNG | Logos, screenshots, transparency | Photos, where size matters |
PNG stays large for photos. If the destination accepts WebP, use it. If a form is picky, JPG is the safe answer.
4. Never compress the same file twice
Each pass removes more detail, and the losses stack. Always start from the original file, keep an untouched master, and export compressed copies from it.
5. Match the display size
Do not ship a 2000 pixel file for an 800 pixel slot. Check where the image will actually appear and resize to that. This alone often beats any quality trick.
6. Strip metadata you do not need
EXIF data, thumbnails and GPS tags add kilobytes and can leak where a photo was taken. For public uploads, a clean export is lighter and more private. My tool strips all metadata by default, so your location stays on your device.
7. Check at 100 percent zoom before you ship
Judge the result at real size, not as a thumbnail. Artifacts hide in small previews and show at full zoom. If it looks clean at 100 percent, it is clean.
Open Image Compressor
See the tool in action
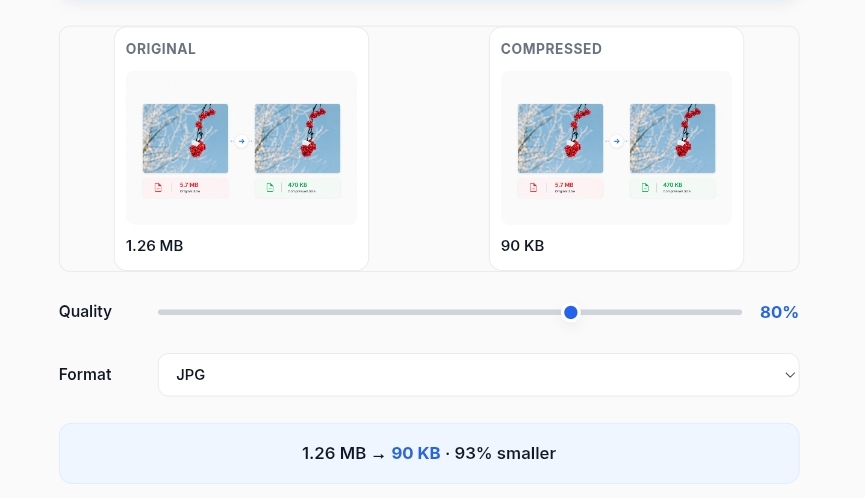
This is the Image Compressor while I use it. The file never leaves your device, so you can compress sensitive documents without worrying about privacy.
Mistakes that ruin quality
Upscaling to hit a size target
Enlarging a small image adds fake pixels and blur. Never upscale to solve a size problem.
Using PNG for photos
PNG keeps every detail, so photo files stay heavy. For photos it is almost always the wrong choice.
Judging quality from a thumbnail
Artifacts hide in small previews. Always check at 100 percent zoom before you call it done.
Compressing an already compressed copy
The losses stack with every pass. Start from the original, not from a file you already squeezed.
Frequently asked questions
Does compressing an image always reduce quality?
Not if you stay above 70 percent quality. Between 75 and 85 percent the change is invisible on screen while the file shrinks a lot.
What is the best quality setting for compression?
75 to 85 percent for anything viewed on a screen. Below 70 artifacts appear, and above 85 you pay in kilobytes for nothing you can see.
Which format compresses best?
WebP gives the smallest files for websites. JPG is the safest for forms and older systems. PNG only makes sense for transparency.
Why is my compressed file sometimes bigger?
Usually because the original was already compressed, or the dimensions are larger than needed. Resize first and always start from the original file.
Final words
Compression works as an order of operations: resize first, choose the format, then let quality do the fine tuning. Follow that order and you will hit small file sizes without seeing the quality drop.
Related guides: Resize to exact KB · JPG to PDF · PDF to Markdown